Are you looking for the best crusty bread recipe in the world? Look no further, you’ve found it right here. This is one of those no-knead, Dutch oven bread variations that will blow you away. Okay, I know that a recipe for the best bread in the world is a tall order. This crusty, light and airy bread comes very, very close though.
Not only does this bread taste amazing, so much better than the store-bought version, it’s also really straightforward to make. What more could you ask for?
The only things you need for making this bread is a bowl, something to stir the dough (you only need to do that for 5 minutes) and a dutch oven. We have several and have baked this bread in both this ceramic one, and in a cast iron dutch oven like this one. Use the one you have, and I am sure you will do just fine.
For us, this is a “weekend bread” – that is, it’s the kind of bread that takes time from start to finish. The bread recipes we tend to use every day, like our simple bread rolls, are quick and easy. Sometimes I get excited and start making the everyday bread – a recipe that will feed you bread for years to come, without adding yeast, its also simple enough, but just demands a different kind of commitment. You get the picture. This bread is so ridiculously easy to make, and it just tastes SO good.
You might also like: The Beginner’s Guide to Making Bread
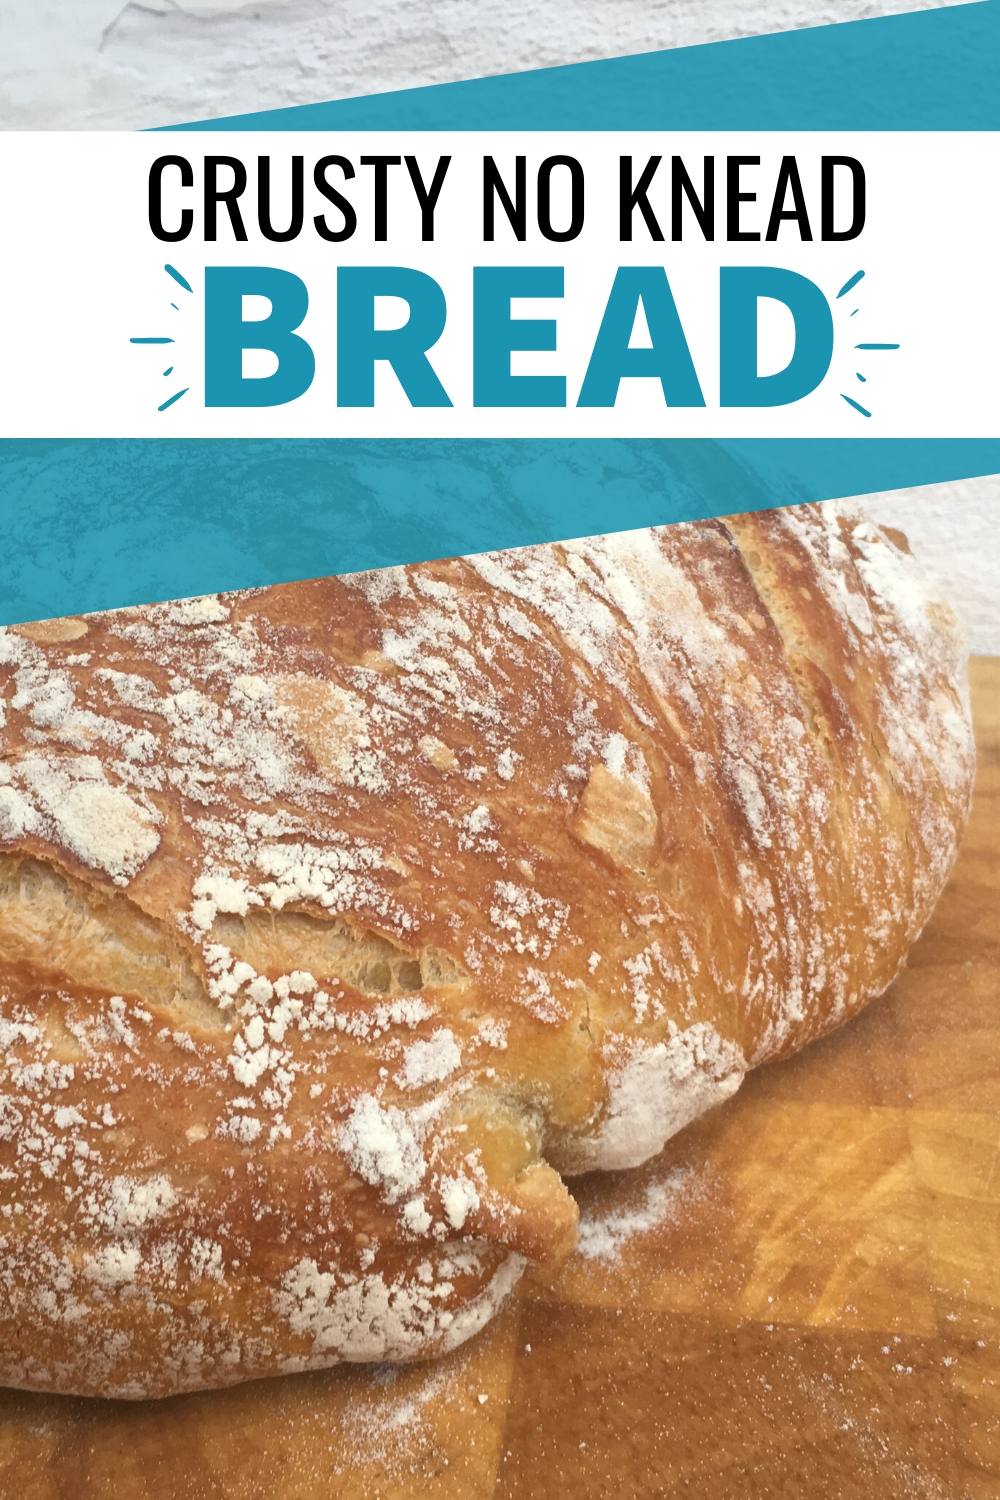
How to make the best and easiest crusty bread in the world
Step one:
You need to start baking this bread at least 16 hours before you want to eat it. This is to give the gluten in the bread the chance to form long strings. Gluten strings can be achieved by kneading as well, but that’s not what we are going for today. Those gluten strings then knit the bread together, creating those big air bubbles I just love!
Step two:
Add all of the ingredients to a bowl and stir it until all the flour is wet. This wont take long, and don’t worry if its still a very runny consistently, it is supposed to be a very soft dough.
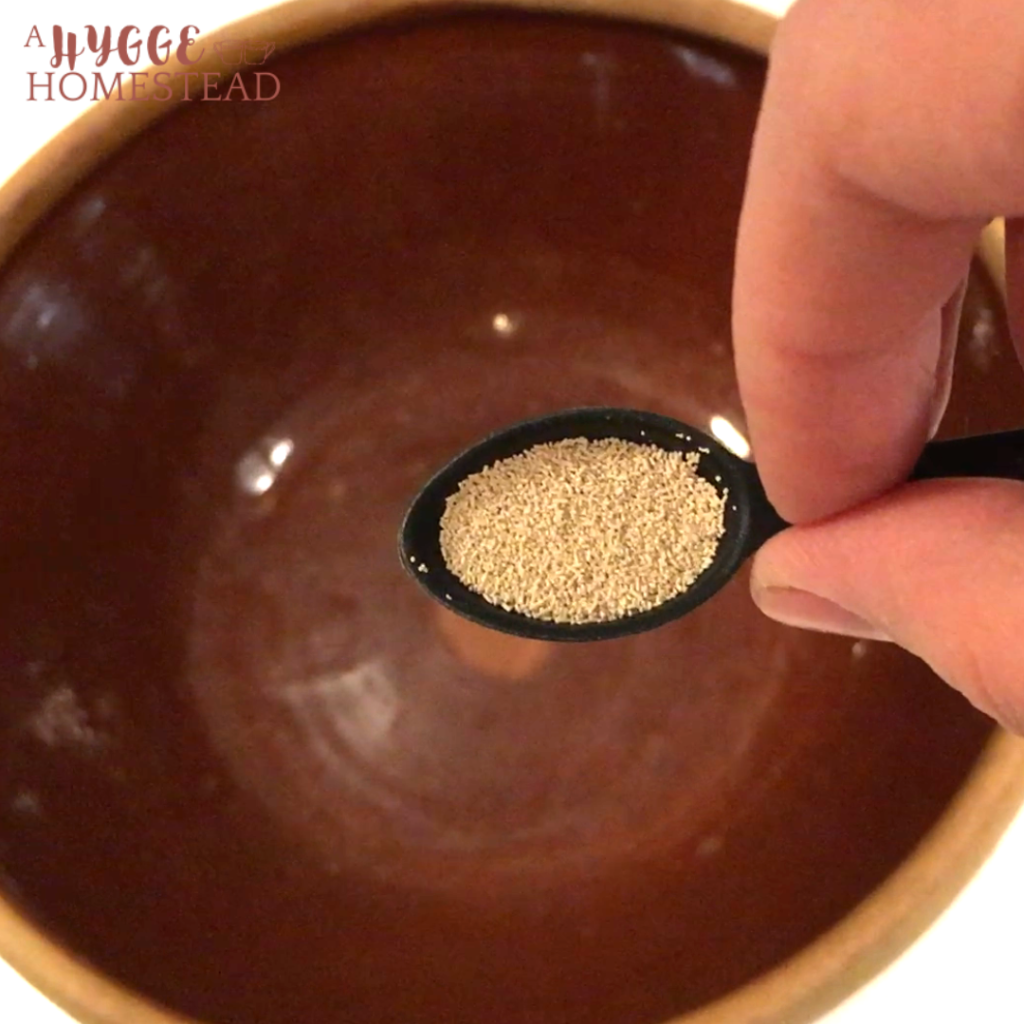
Add yeast to a bowl 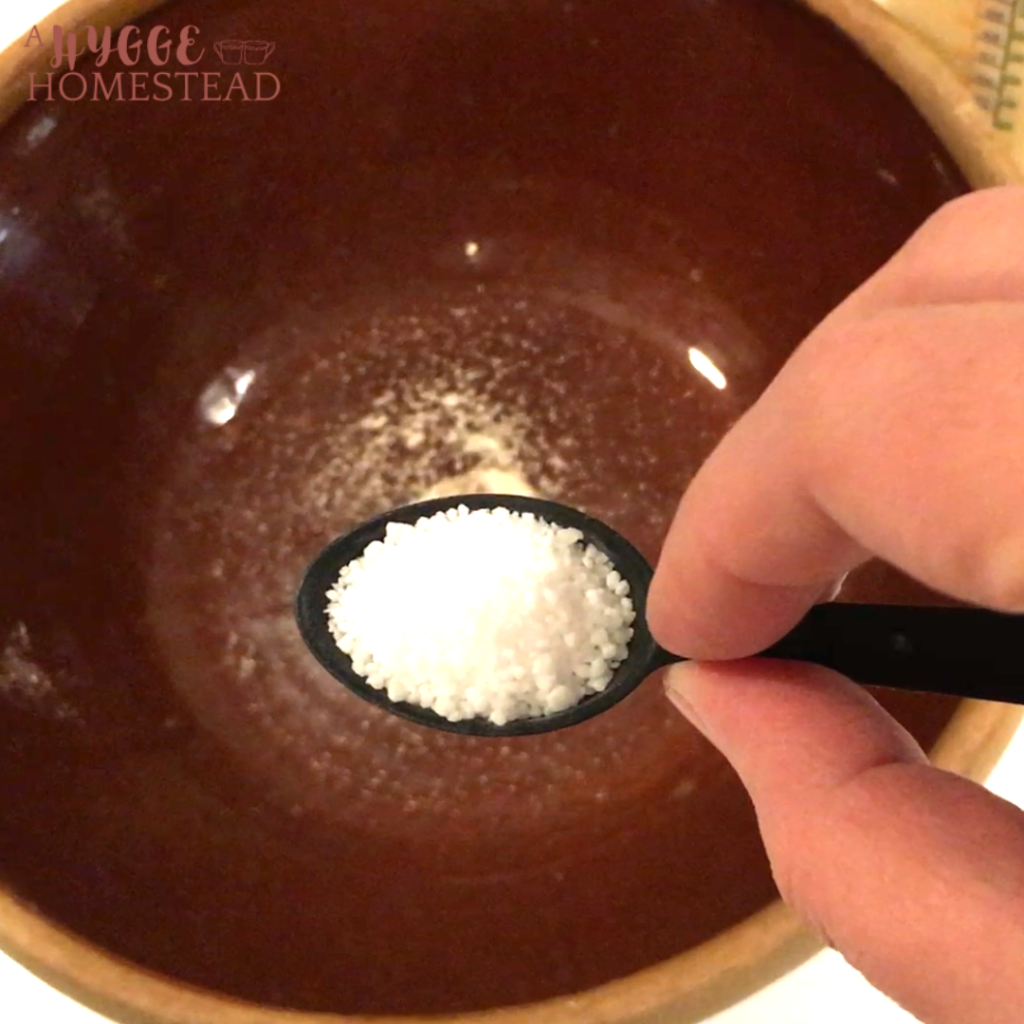
Add Salt 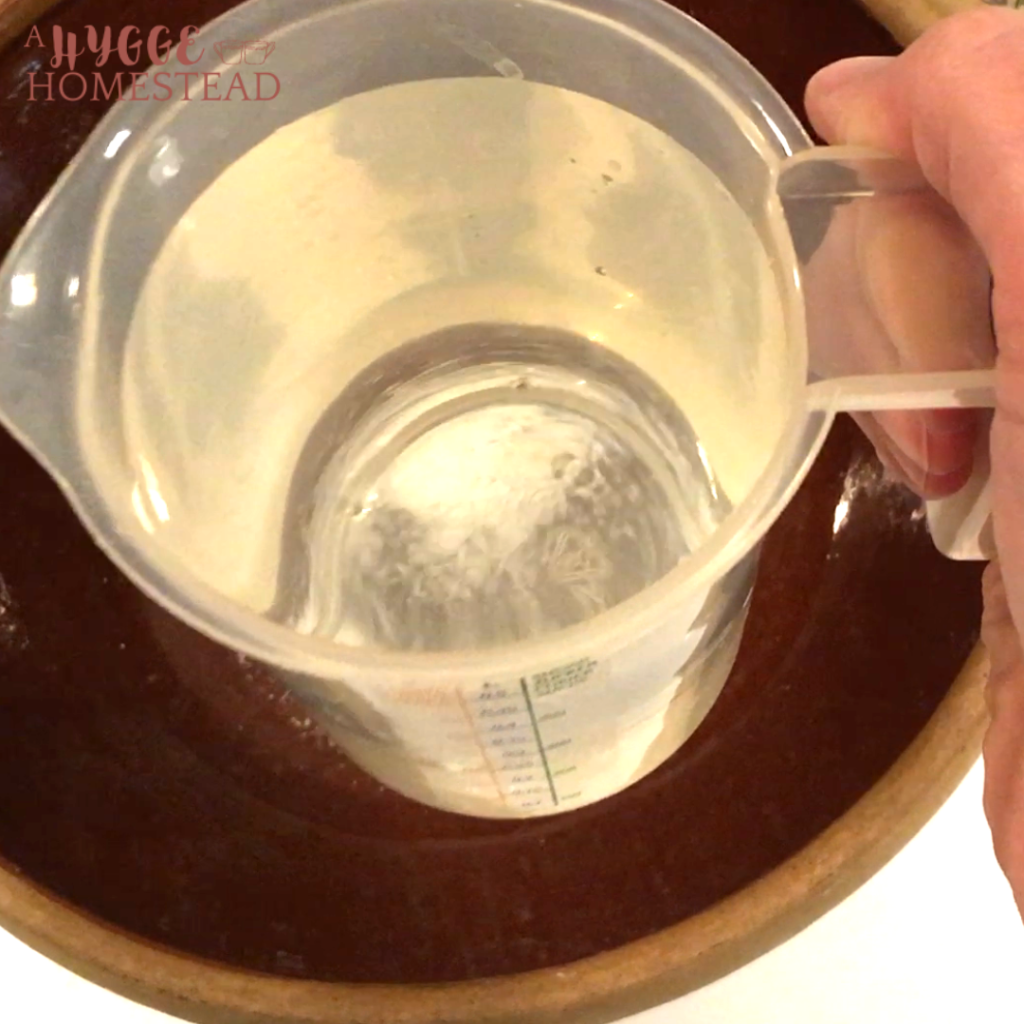
Add Water 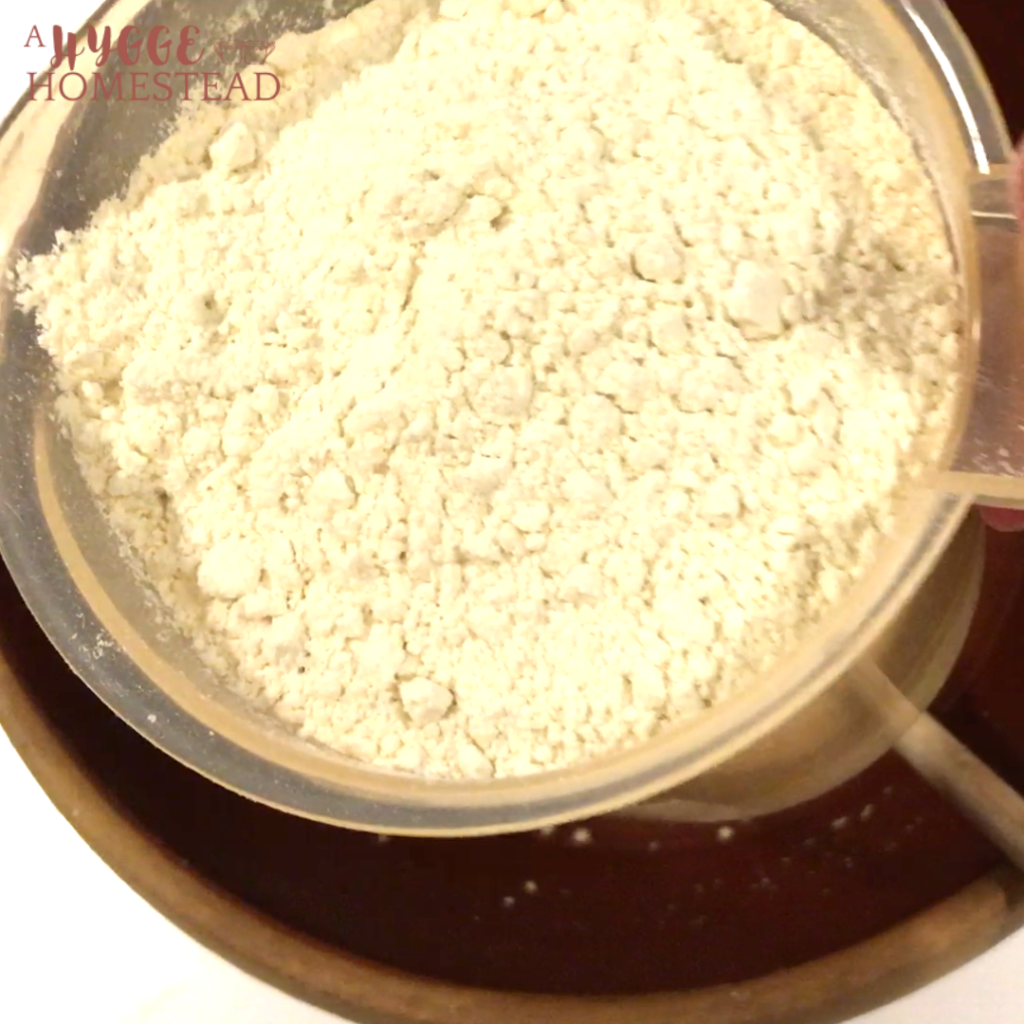
Add flour 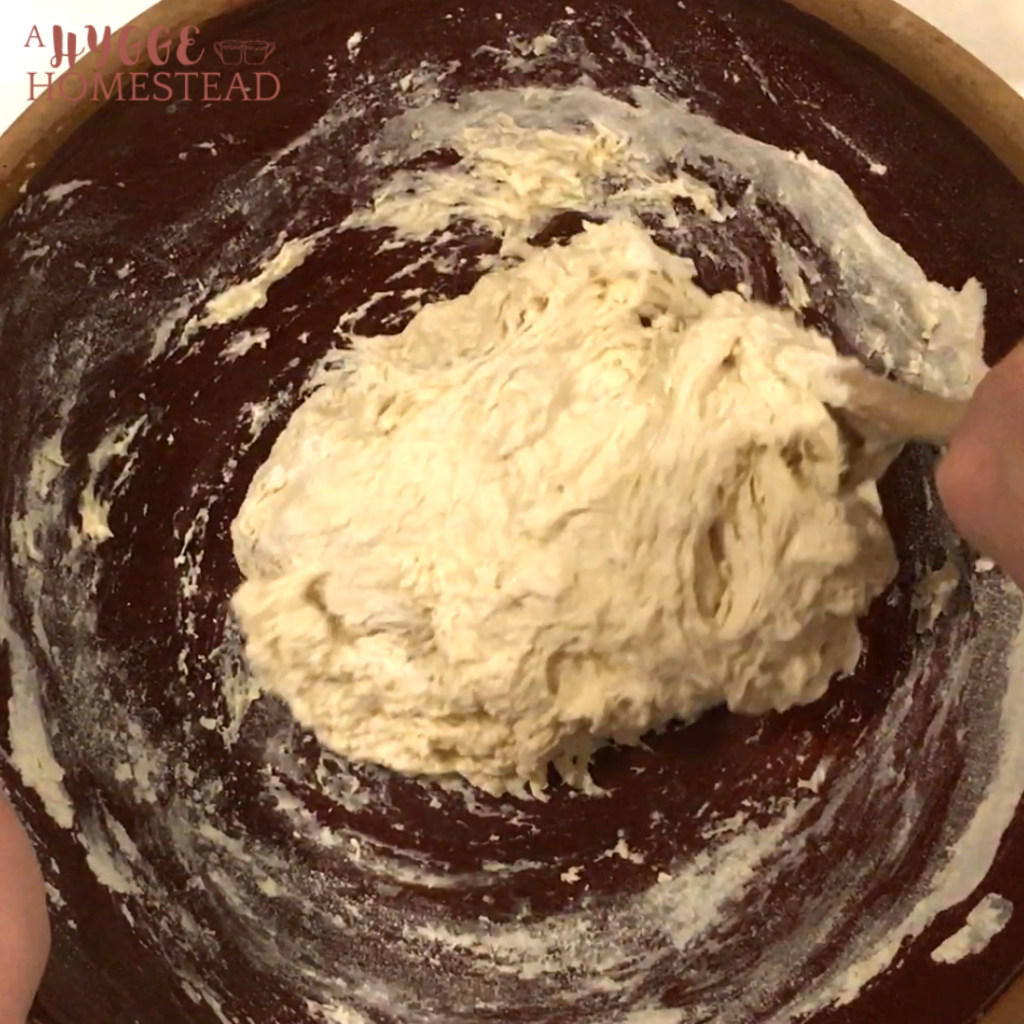
Stir it all together
Step three:
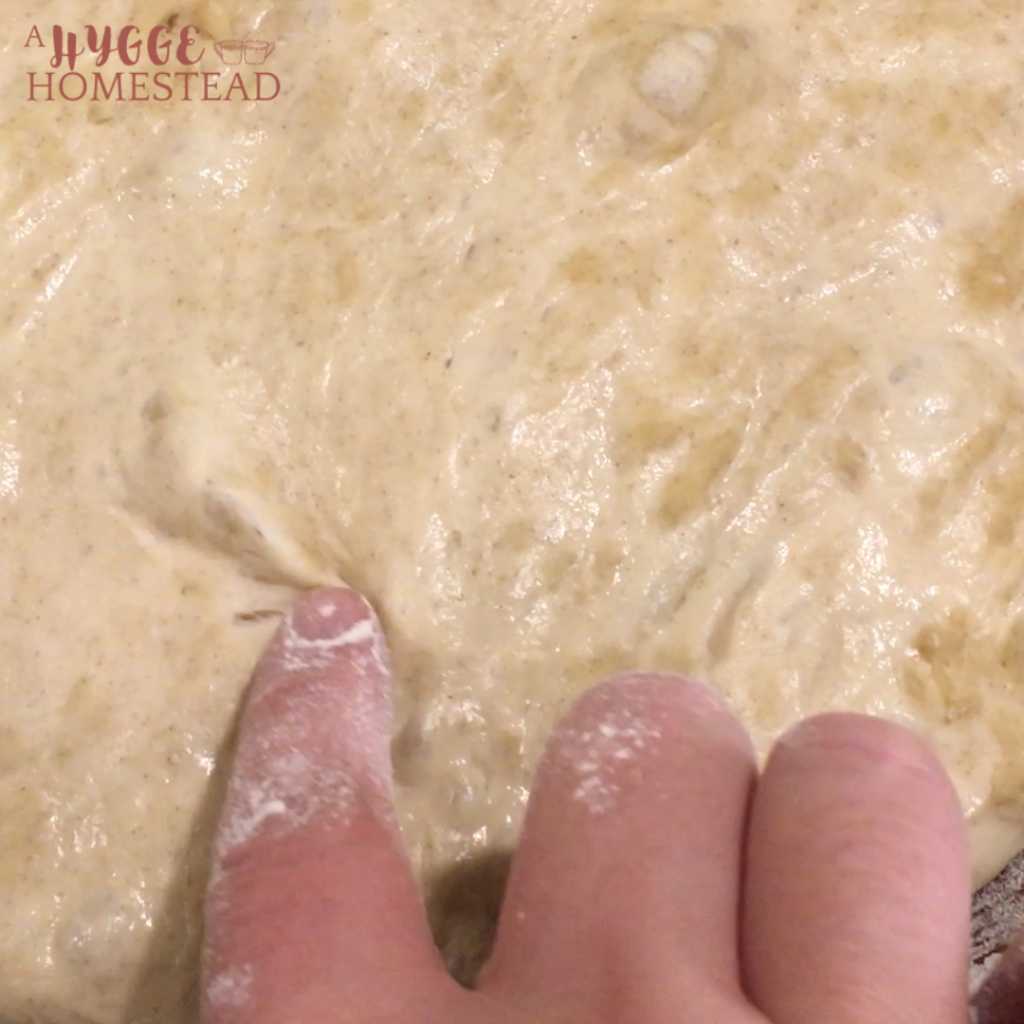
Leave it covered in a cold room over night, (at least 12 hours but 14 hours is good to). By the end it will have formed big air bubbles.
Step four:
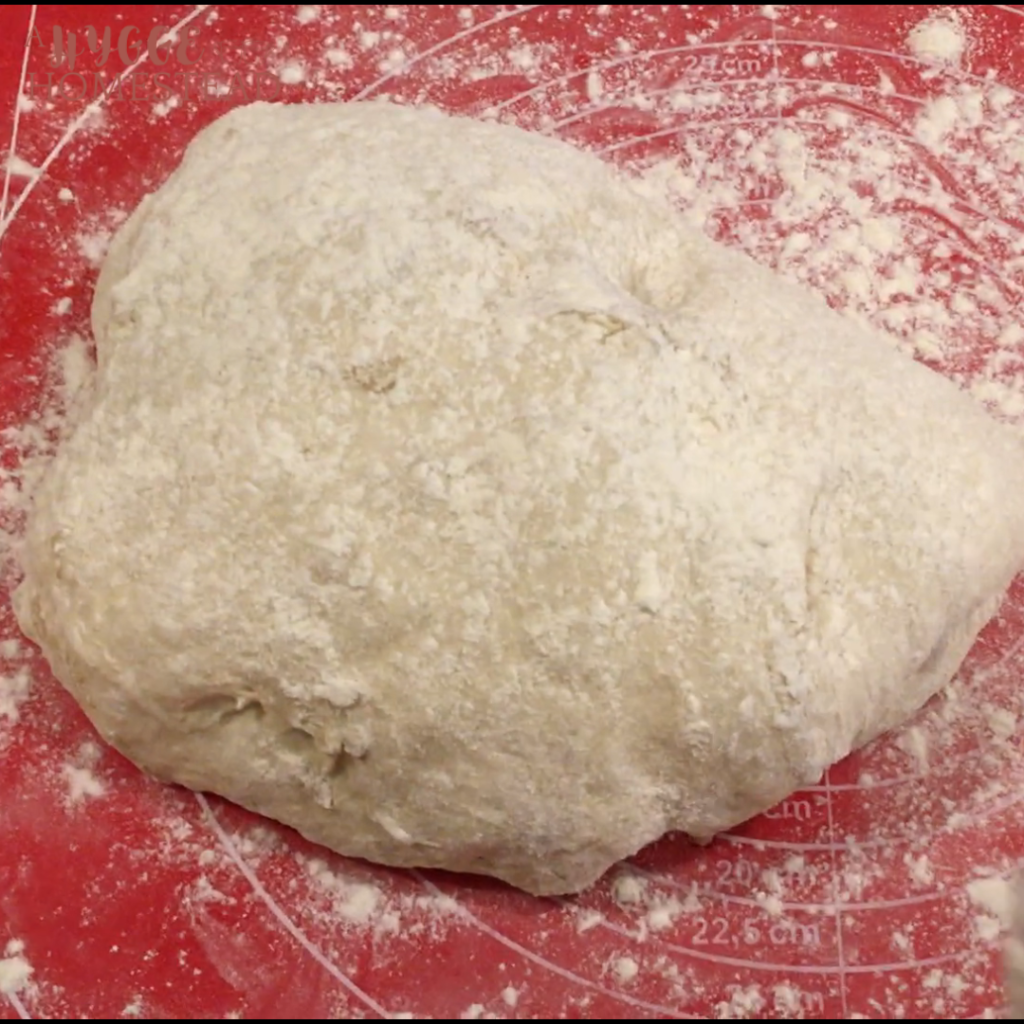
Take the dough out of the cold room, and get it out onto the kitchen table. Take the dough out of the bowl and shape it into a loaf. Leave it there to “wake up” for about 2 hours. I leave mine on a silicone baking mat, like this one – if you don’t have one, the kitchen table will work as well.
Step five:
Add the dutch oven, to your cold oven and heat it all up together to about 250 degrees Celsius (480 F). Make sure that your dutch oven is heated all the way through. Do this by leaving it in the oven for about 10-20 minutes after the oven heats up.
Step six:
Carefully remove the dutch oven from your oven and leave it on a heat proof surface. Grab all of your dough and place it straight into the dutch oven. I do this with a pizza paddle life this one. Add the lid back onto the dutch oven and place it back into the oven at full heat. Leave it there to bake for 30 minutes.
Step seven:
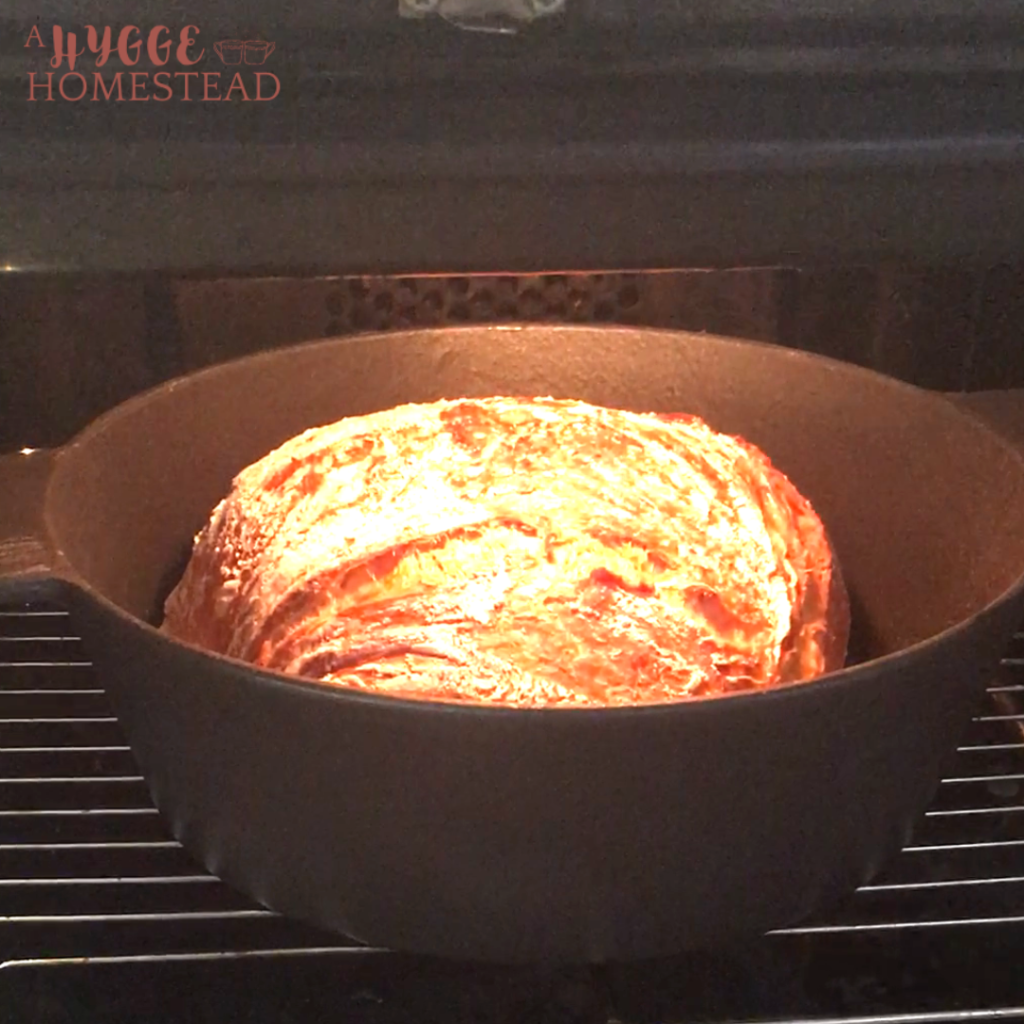
When the 30 minutes are up, remove the lid and turn the oven down to 225 degrees C, (435 F) and bake the bread for another 15 minutes.
Step eight:
Remove the bread from the oven, and “poor” it out of the dutch oven onto a rack. And then LEAVE IT for at least 20 minutes. Enjoy the crackling sounds it is making, but don’t eat it just yet.
Step nine:
You have waited long enough! Enjoy 🙂
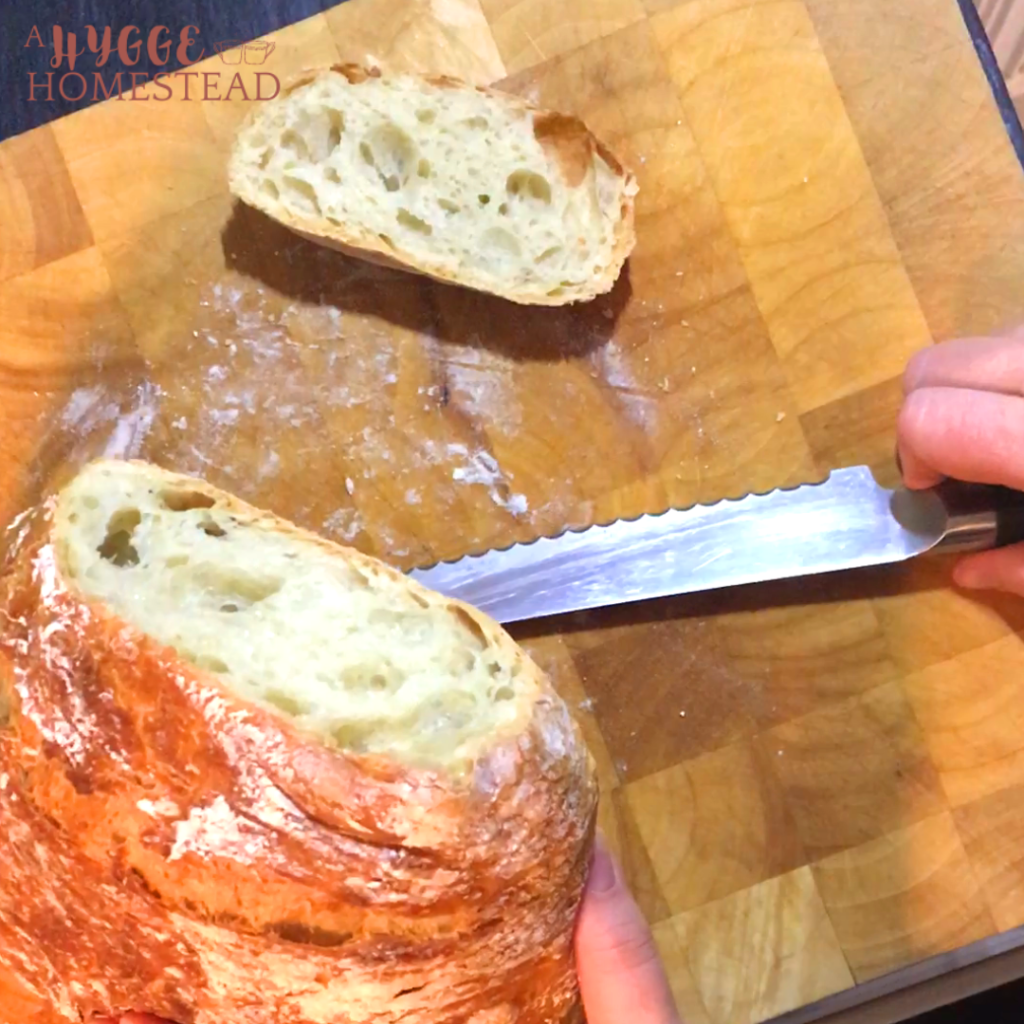
That’s it. The method itself is very simple – make your dough, leave to prove and bake in a Dutch oven (or whatever pot you have.)
It’s not a work-heavy bread, just time-heavy. But trust me, it’s definitely worth it.
The best and easiest bread in the world
Equipment
- You will need a large bowl and a Dutch oven or oven-safe pot to bake the bread in
Ingredients
- 1/4 TBS Dry yeast REALLY! Only very little!
- 1 pint cold water (5 dl)
- 2 Pints Flour (625g, 10 dl)
- 2 tsp Salt
Instructions
- In a large bowl, add the dry yeast to the cold water. Stir well, until the yeast is activated. (This takes about 5 minutes – until the yeast is fully-dissolved)
- Add the salt and flour to the bowl.
- Stir the mixture until the flour is just wet, but no longer.
- Wrap the bowl with a (wrung-out) wet tea towel or similar.
- Leave your dough to "raise cold" for 12-14 hours.Choose the coolest room in the house for this. I did leave it on the kitchen table once, and it was fine here in chilly Denmark.
- After 12-14 hours, dust a clean table top with flour. Tip your dough out onto the flour and fold the dough gently in over itself 3 times. Work from the sides to the middle, to create a dome-shaped loaf.Now cover it (I use a beeswax cloth for this, but a dish towel is perfect) and leave on the kitchen counter for another two hours. This is especially important if you had it raising cold – it needs to "wake up".
- Heat your oven to 250 degrees Celsius (480 degrees Fahrenheit) and put your Dutch oven or pot in the oven to warm. Make sure it's heated all the way. I like to let it sit in the oven for 10 minutes after the oven has come to temperature.
- Take the hot Dutch oven out of the oven and put it down on a safe, heat-proof surface. Remove the lid (wear oven mitts!), and gently lift your dough into the Dutch oven – careful not to touch the hot pot yourself. Put the lid back on, place it back in the oven and leave to bake for 30 minutes.
- After 30 minutes, remove the lid from your Dutch oven, and turn the oven temperature down to 225 degrees Celsius (435 Fahrenheit).Bake without the lid for an additional 15 minutes. Make sure you check on your bread after 10 minutes though, your oven might be warmer than mine.
- Remove the bread from the oven and take it out of your Dutch oven. Your bread should be golden brown and making a crackling sound. To double check it's baked, knock on the bottom of the loaf, it should sound hollow.
- LEAVE YOUR BREAD FOR 20 MINUTES BEFORE YOU CUT INTO IT!Its very important that the bread is able to set itself up for greatness, and it does that with all of the moisture contained inside the thick crust. Leave it for at least 20 minutes to cool and set before you eat it.
Crusty Bread Gone Wrong…
I have to be honest. It took me a few attempts before this bread turned out the way I wanted it. So I’m going to share my best tip for perfect crusty bread.
If your bread sticks to your Dutch oven, pot, or whatever you’re using to bake it in, then the pot wasn’t warm enough when you put the bread in. To avoid this, leave your Dutch oven in your heated oven for a bit longer before you take it out and put in your bread. Because this recipe doesn’t use any fat, you’re relying on the high temperature to make sure the bread doesn’t stick.
Are you on the lookout for a new Dutch oven? We have this one for the campfire, and this one for our conventional oven.

Thanks for this recipe. First time I made it and it really lived up to its name! Honestly the best loaf I’ve ever baked and so easy. Crusty crust and light, airy, chewy open crumb. The dough is wetter than most doughs so if you’re used to making a regular home bread recipe you might feel uncomfortable handling this dough. I tried sourdough a couple of times so I was sorta used to it. My only alteration is next time I will pour the dough onto baking parchment for folding and shaping because it was a bit of an event getting it into the Dutch oven. Otherwise I wouldn’t change a thing! Love it!
Yay – Lizzi! Thank you so much for letting me know! And yes, the dough can be a little hard to handle. I have a big pizza scoop that I use to transfer the bread into the dutch oven. I am glad you enjoyed it! Have the best day.
I am trying a new bread recipe every couple days. So far…yours is truly the easiest and the best!!!! It has an awesome crust, light, airy texture. Really delicious! Thanks so much!!!!
Thank you so much for letting me know, Jo. I am so glad that you enjoyed it!
What type of flour should I use? All purpose, self rising or bread flour?
I use plain flour – Without anything added to it. All purpose or bread flour would both work. I always go for a flour with quite high protein but grab what you have and try it out. This is the easiest bread ive ever made, and I am sure the flour you have will do. Let me know how you do 🙂
This was fantastic!!! Have you made a wheat version?
This was absolute perfection.
Thank you for sharing!
Thank you for saying that Erin, Im glad you liked it. Do you mean a whole wheat version? I have made this bread with 30% whole wheat flour – I like white wheat, but I have baked it with regular whole wheat flour as well, and its equally good 🙂
I was very excited to come across your bred recipe as the method is so different from my usual recipes. So, I tried it yesterday and it produced a lovely loaf. Just a couple of queries:-
After the long rising period I found the dough very wet indeed and I wasn’t able to handle it at all – let alone fold it as instructed without the addition of more flour. Even then, I couldn’t build the dough up into a cone. It just spread out laterally. I could just about pick it up to transfer to the Dutch oven, so that was OK. So, should the dough have been as wet as I found it after the long rising period?
The resultant loaf was well risen but very heavy. Is this as it should be? I imagine that in this state it’ll keep for a while!
Thanks in anticipation of your comments.
Roy
Thank you Roy, for trying it out. Yes it is quite a wet dough – I will try and do a video on this crispy bread, as others have wondered about this as well. You can sort of sense the state of my dough in this video pin here: https://www.pinterest.dk/pin/677088125220857923/. From what you say, maybe your dough was a little to wet? Sometimes it depends on the type of flour you use, and how much water it will soak up…
As I say – I will try and do a regular style video soon to explain more about the bread.
Thank you for trying it out! I do believe it took me a few tried before I found the perfect way of doing it. Please tag me on any social media platform if you try it out, I would love to see the results.
Malene.
Thanks, Marlene, for your comments. I shall most certainly make this loaf again because the result is really delicious. I’ve watched the little video a couple of times and it’s very helpful because it enables me to visual the “feel” of the dough I should be aiming for. Yes, a bit less water next time. Thanks again.
Roy
I have a question for you! I’m very new to making bread so it might be an obvious answer, but could I use my braiser for this recipe? I don’t own a Dutch oven and have heard many arguments amongst other cooks that they can be interchangeable. But do you think it would bake bread well?
Hi Emily. Yes, I think a braiser would work. Any container with a sturdy lid would be okay. As long as it’s able to handle the temperatures of this recipe you are good. This is a great starter recipe- do let me know how you do with it👍🏻👍🏻
What kind of flour should we use? (Beginner here!)
Oh fantastic – yes this is a brilliant bread to try as a beginner! You can use all purpose or bread flour for this. Enjoy! Let me know how you do! 🙂
Question, I live in Central Texas and cool rooms are almost non-existent here except maybe for 1 or 2 weeks a year. How cool does it need to be? I can crank the a/c to keep it maybe 68 all night. Is that cool enough or are we talking like 50s?
What a great question! I live in Denmark – and so its always cold ;-). Maybe make it during the day to see how much it raises? I would focus on looking at the time it takes to double in size more than the temperature, if that makes sense? No need to use power on a/c if you can just keep an eye on it during the day… You can then see how long it takes, and then you know if you were to leave it overnight. Alternatively you can leave it in the fridge. That changes the texture a little because of the cool raise, but would still make a delicious bread. Let me know if you try one of these options.
Could you give an actual temperature range for the cold raise? I’m in a similar boat – we live in Alabama and although I’ve made your bread a few times before I don’t think it’s come out very well either time… I tried once at around 50 degrees F (garage, during winter) and a second time at around 68 F (coldest spot in the house, during spring). I didn’t really get a good rise either time, or big air bubbles. Both times the bread came out relatively dense, and I also didn’t hear the popping you mentioned when I pulled it from the oven, although I’m new to bread making so most of this could just be me not knowing what I’m doing as well! It still tasted great! Thank you in advance!
Hi Morgan. Its hard trouble shooing from a distance but ill do my best 🙂
Those temperatures sound great. Hmm… Here are some things I would look at: Do you stir in the yeast to activate it enough? Dry yeast needs a few minutes to get activated before moving on to flour. You can stir it or leave it sit for a moment. You could consider a little more yeast? The rise of a dough depends so much on the environment of the house, and how mush wild yeast is in the area as well (which is always hard to judge) and if you have tried it twice without the rise, maybe give it a tiny bit more yeast?
After the cold rise how long do you leave it in your kitchen to rise? Maybe it needs a bit longer to wake up?
Those are some of my thoughts – I hope it helps 🙂 Let me know how you go. Malene.
I want to try this recipe but only have fresh yeast (färsk jäst here in Sweden). Would that work? What would be the conversion? Thank you!
Yes, Ive done that many times, that what we usually use here in Denmark as well 🙂 I would use a piece about the size of a pea 🙂 Enjoy!
What size Dutch oven?
Honestly – the one you have, is the best one 🙂 But I have several between 3,5 and 5 liters (3,7-5,2 qt) and this recipe can work in any of them. I hope it works out for you.
Super easy and flavorful!
hi, this came out delicious but my crust when first coming out of the over was crisp and perfect but as it cooled on my rack the crust started to crack and in some places caved in, in spots. what am I doing wrong?
I loved this. First try and it came out wonderful. so simple and delicious! I was wondering if you had any tips for doubling the recipe in one go? Or does just doubling all the ingredients go over well? thank you!
Im so glad that you loved it!
I am sure you could make two with just doubling the ingredients. Just be mindful of the size of your oven. I find that my oven can only hold one dutch oven at a time. But depending on the size of your dutch oven you could try mingeling with the ingredients to fit it perfectly. If it was a bigger bread I would add a little baking time to the first round (with the lid on).
Do let me know how you do if you try it out 🙂
Hello, your bread looks amazing!
I was wondering if baking the bread in a oven pan, no lids, could work too? I do not have a dutch oven or a oven pot with a lid.
Thanks!
Hi Andrea. Hmm its a tough one. Because its the dampness of the enclosed pot that gives it some of it affects. What I would probably do if I was in your shoes, is to add a thick pan to the bottom of the oven, And then as I place the bread in I would add about a cup of water into that bottom pan (not in the same place as the bread but a pan bellow it) that would create the damp conditions for the first half hour. BIG CAUTION though is that it does get VERY hot when you open the oven. Stay mindful and dont let kids open the oven. Also, ive never had any issues doing this but its not very good for the oven – something to consider.
After the first half hour, remove the pan with the water (It had probably evaporated by now) and bake until golden.
Let me know how you go. Malene.